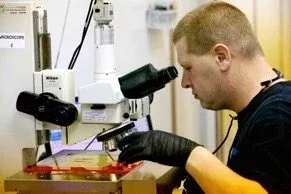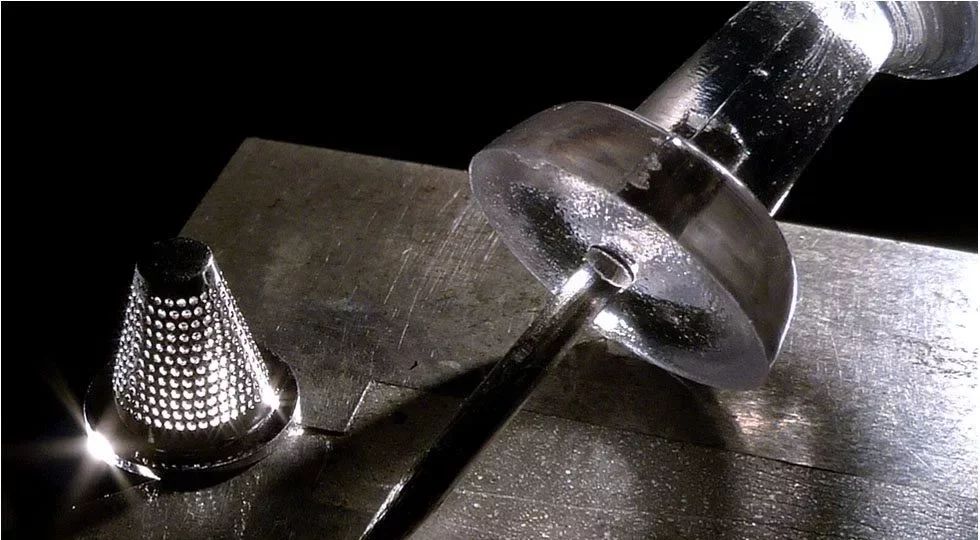
Laser micromachining at very small spatial scales demands special attention to precision. Anyone who has ever tried to assemble DIY furniture where holes were slightly off from part to part knows the frustration part variation can cause even for simple home projects. As you can imagine, precision takes on new meaning when drilling holes that are only a few microns in diameter since there is so little room for error. At Potomac, our quality control systems ensure that each and every customer part meets spec; this is even more critical in production settings.
Tolerance vs. Accuracy
While the terms tolerance and accuracy are used interchangeably in everyday conversation, to manufacturing professionals, the terminology of precision machining has specific definitions. Engineering tolerance describes the acceptable size range for a specific part. A customer may specify a 20-micron hole, with plus or minus 1-micron tolerance. This means that they can use a hole anywhere from 19 to 21 microns in diameter, and will accept parts within that range of sizes.

Tolerance may also be specified for hole or feature placement. When drilling a large of array of hundreds or thousands of holes, it is often imperative that the holes be in exactly the right location. Laser marking fiduciary features that are used in assembly of micro-parts especially in glass is another application where placement is exacting. Over the years, Potomac has developed systems, equipment and processes to hold such tight tolerances taking laser micromachining and marking to a higher performance standard.
In laser micromachining, accuracy is the degree to which a measurement is close to the desired specification. High precision motion control systems with sub-micron accuracy are at the heart of Potomac’s in-house production workstations. In order to take quality control a step further, we calibrate our equipment with a NIST traceable standard and ISO procedures ensure consistent processes during manufacturing. We have even worked with customers to be sure our parts measuring systems are identical, down to duplicating the high-resolution microscopes used for inspection.
Says, Dave Adam, Potomac Director of Quality Control, “We work extremely hard to build highly controlled systems in order to eliminate variability and achieve a robust repeatable process for both prototyping and production projects”.
Whether your parts demand high tolerance or sub-micron accuracy, Potomac’s experience can produce quantifiable manufacturing precision.


